 Luttie
Color grading tools
Curves
The most precise tone and colour control — a master curve for brightness and separate red, green and blue curves.
Curves remap brightness: the horizontal axis is the input, from black on the left to white on the right, and the vertical axis is the output. A straight diagonal line changes nothing. Bend it and you change how each level of brightness comes out.
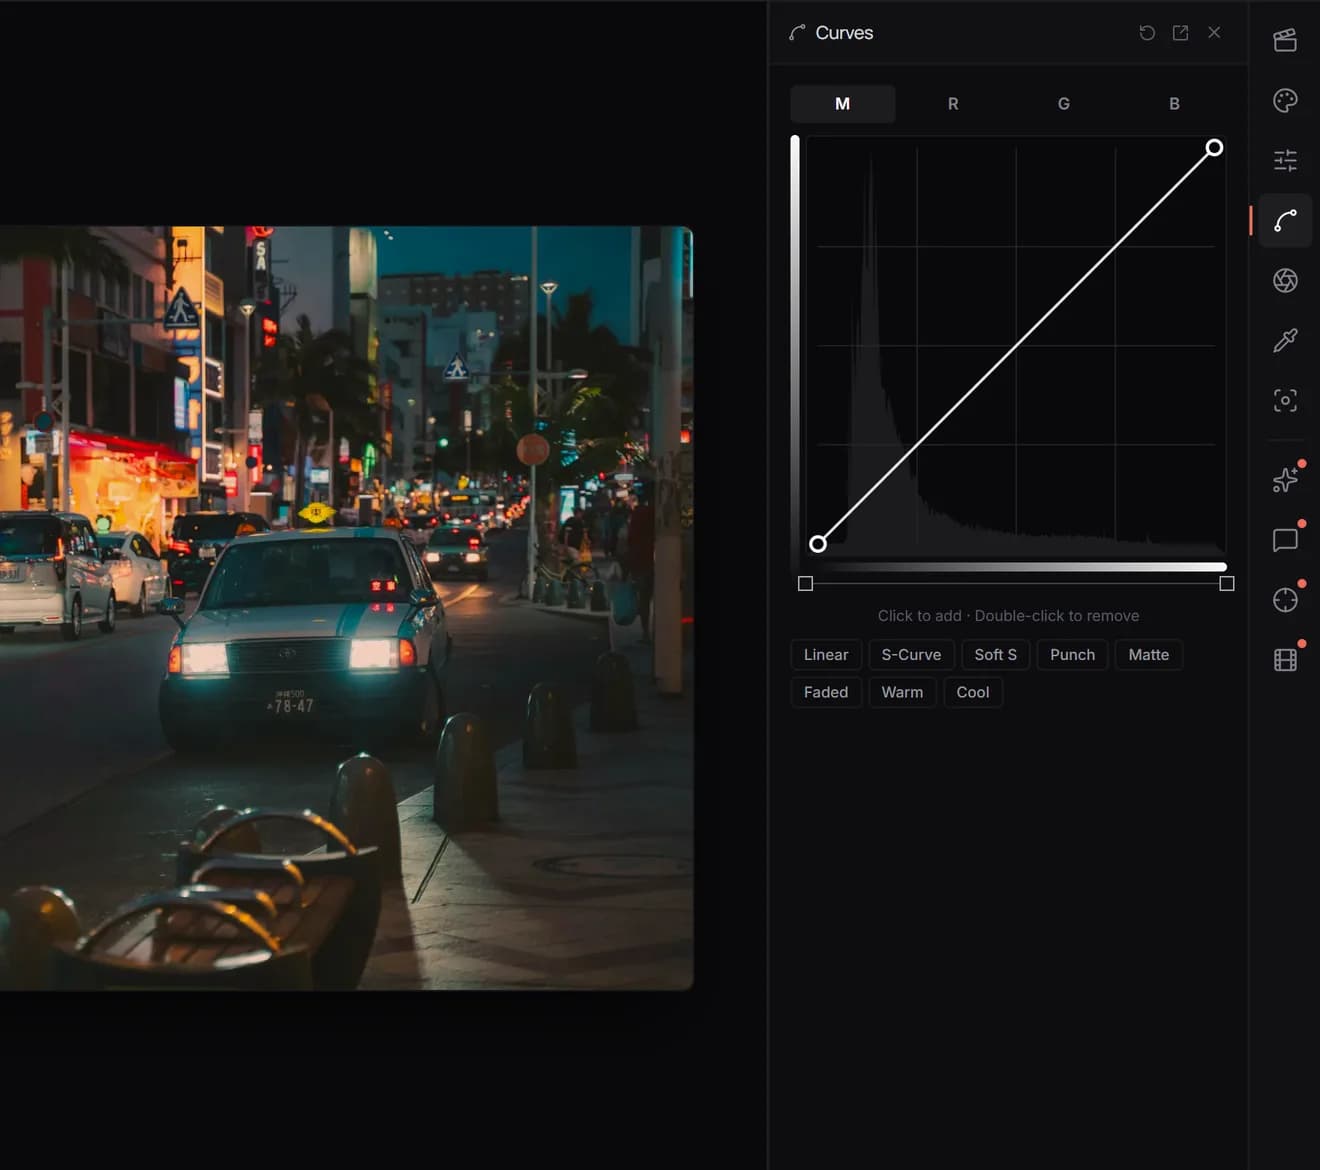
Editing a curve
- Click on the curve to add a point, then drag it.
- Double-click a point to remove it.
- Pick a channel with the buttons above the curve: M (master) changes brightness, and R, G and B change one colour channel each.
The histogram drawn behind the curve shows where your image's tones actually are, so you can see which part of the curve affects the most pixels.
Common shapes
- S-curve (Master): pull a point in the shadows down and a point in the highlights up. This adds contrast through the midtones without clipping the ends, which is why most looks use one.
- Lifted blacks (Master): drag the bottom-left end point straight up. Nothing is pure black any more, which reads as matte or filmic.
- Split tone (Blue): raise the shadow end of the blue curve and lower its highlight end. Shadows go blue, highlights go yellow.
Channel curves
On a single channel, raising the curve adds that colour and lowering it adds its opposite: less red is more cyan, less green is more magenta, less blue is more yellow. Channel curves can fix a colour cast in just the shadows or just the highlights, which white balance can't.